Fake nails can instantly elevate your look from ordinary to extraordinary. You have the freedom to keep them natural or create a striking manicure. Whether you’re preparing for a special occasion like prom or a date night, or simply want a fresh new appearance, fake nails are a great option.
Step 1: Preparation
Begin by laying out your fake nails in the order you’ll apply them. The largest nails should go on your thumbs, and the smallest on your pinky fingers. Ensure they fit comfortably over your natural nails, and use a file to adjust the bottom edges if needed.
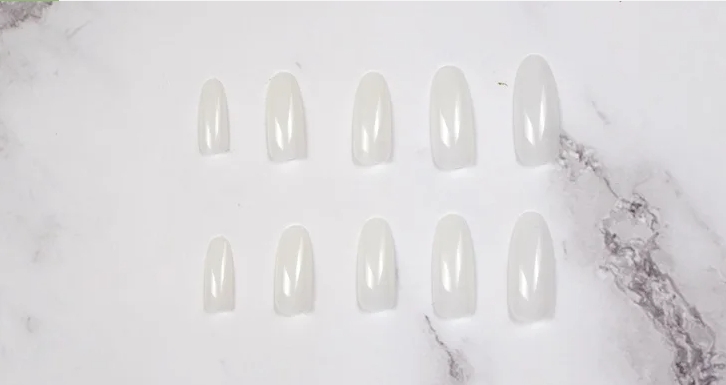
For easy application, opt for fake nails that require only nail glue. Your kit should include a nail for each finger and a small bottle of adhesive. If you have a kit for acrylics or gels, follow the respective guides. If you prefer to apply without glue, consult a guide on that method.
Step 2: Applying the First Nail
Apply a small amount of glue to your natural nail and to the corresponding area on the fake nail. Place the fake nail over your natural nail, aligning the bottom curve with your cuticle. Press firmly for 10 seconds to allow the glue to set.
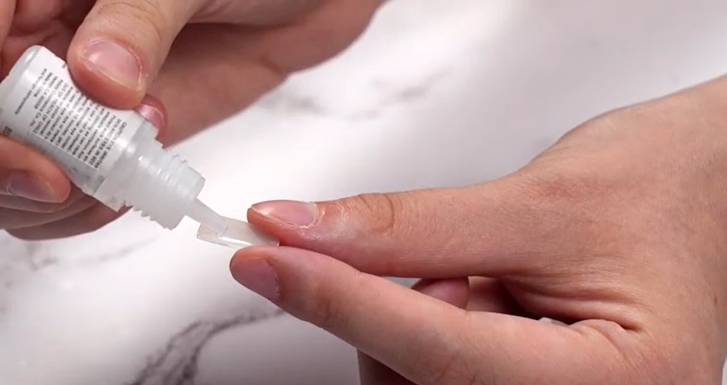
Ensure the nail is securely attached without any gaps. Avoid using too much glue, as it may seep out the sides. If this happens, use a cotton swab to gently remove the excess. Take care not to place the nail crookedly, as the glue dries quickly. Start with your dominant hand to get the hang of it.
Step 3: Applying the Remaining Nails
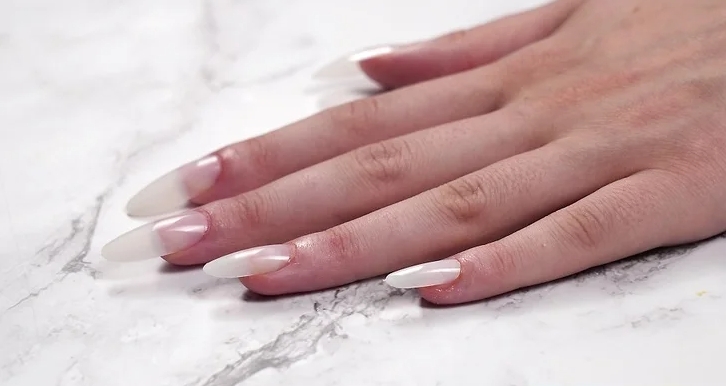
Repeat the process for each of your nails. Apply a dab of glue, place the fake nail, and press for 10 seconds to ensure a tight seal.
Step 4: Shaping the Nails
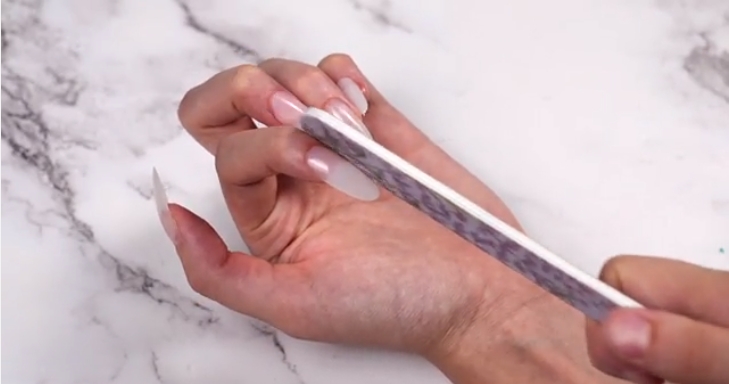
Once all nails are secure, use a nail file to shape them into your desired shape, whether it’s classic square, oval, or any other shape you prefer. If you’re happy with the shape of the nails as they come, you can skip this step.
With these simple steps, you’ll be able to apply fake nails with confidence and style!